[ad_1]
If you’re making cookies for Ramadan you don’t have to make the same traditional cookies you have made for years. It’s time to try something new! Making beautiful Ramadan cookies has never been easier.
While I am using a star for this design you can really use any shape cookie that you would like. This post will give you specifics on how to create the decorating effect that can be applied to your cookie.
This design is perfect for getting kids involved because there’s no piping, so it doesn’t require those fine motor skills. This will work with all different color combinations, so it is really easy to experiment and change up the design.
If you want to make this a bit more complicated or dressed up, you can add some sprinkles while the frosting is still wet or pipe on some festive phrases or a border after the icing has dried.
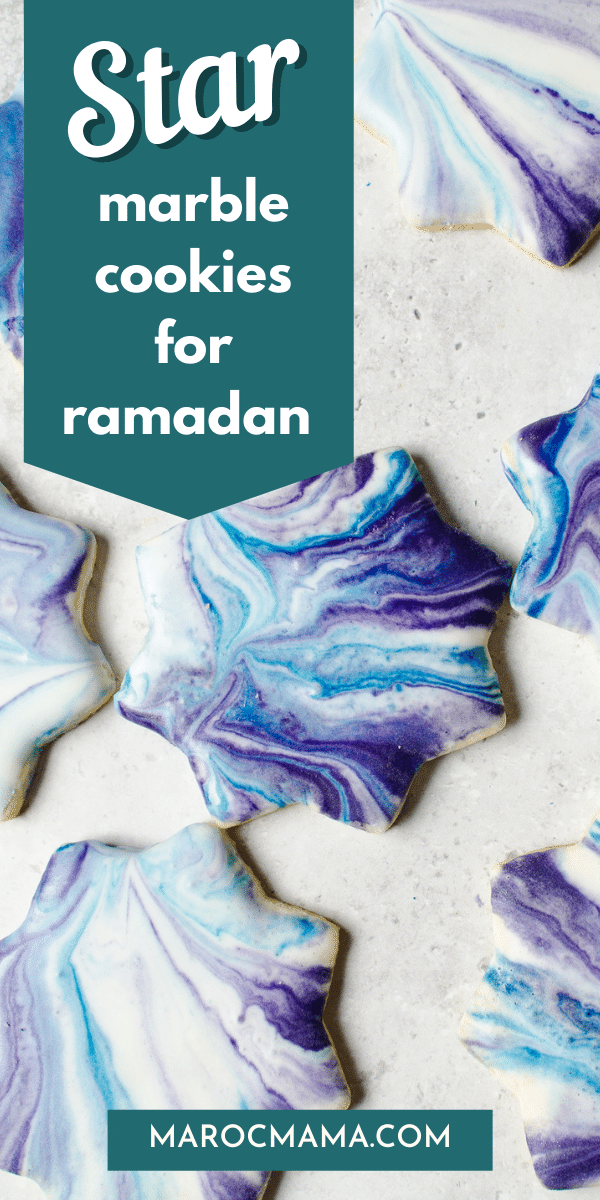
What I like the most about these cookies is that they’re so fun to make with your kids and you can have great results. It’s also great if you’re not such a skilled decorator (raising my hand) but you want to bring something to your iftar or party that looks like you know what you’re doing!
Coloring Your Ramadan Cookies
I love all of the Ramadan desserts that hit the iftar table however there rarely is anything new or different. Not that there is anything wrong with tradition but I like trying new things!
These cookies not only look really cool they’re easier to make than you think. While this recipes uses purple and blue you can use any color that you like for the final design.
One thing that you’ll want to make sure you have is good quality food coloring to ensure the colors and bright and vibrant and not flat.
You may want to stick with contrasting colors so that they really stick out when mixed. Add more food coloring for a more vibrant look, less for a more pastel look!
You’ll also want to make sure your cookies are completely cooled before you start dipping or you’ll end up with a soupy, runny mess!

How to Dip Your Ramadan Cookies
Before you start dipping your cookies, make sure that you have everything set up and ready. This will help you move easier and not end up with a giant mess! Some things to have prepared;
- a clean work surface
- a cookie cooling rack
- a piece of paper towel or parchment paper larger than your cooling rack
- shallow bowl(s) to put your frosting in
- cooled cookies
- royal icing
When you have your workspace all set up and ready it’s time to start making your marbled Ramadan cookies!
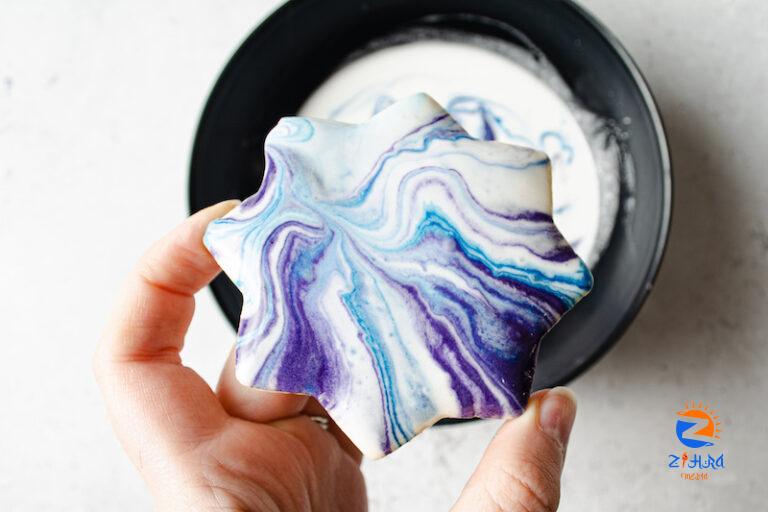
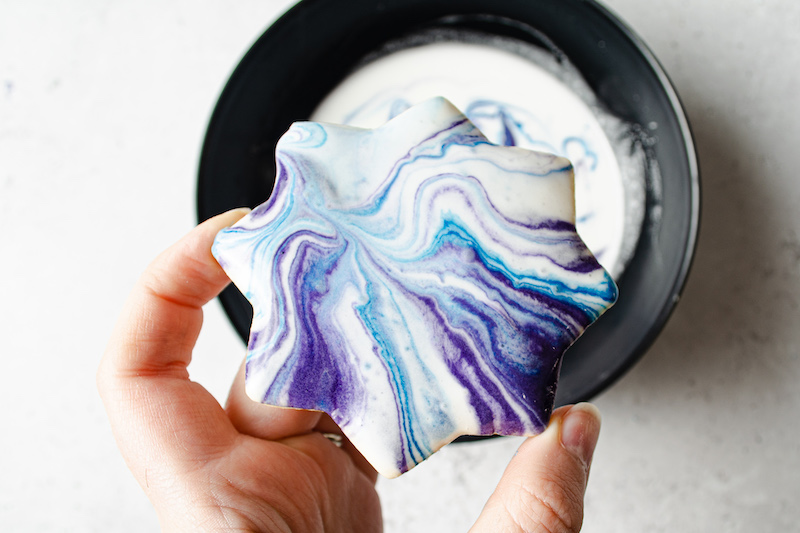
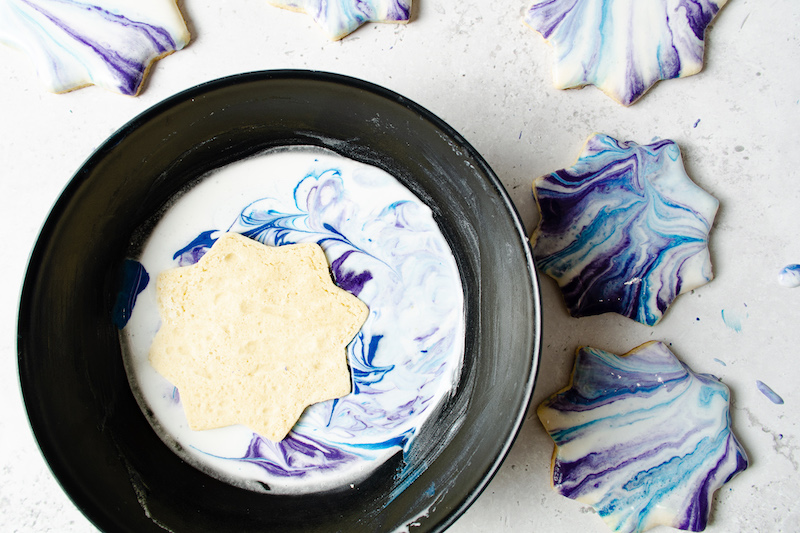
Start with clean hands and carefully dip each of your cookies. Remove any excess frosting by wiping off the edges and place the cookie clean side down to the drying rack. Any excess frosting will drip off.
More Easy Ramadan Cookie Ideas
Once you’ve made these, try these Ramadan cookies too.
Having a nice mixture of cookies is always a good idea so that your guests or family have a few different choices depending on what sounds good after a day of fasting.
Which Sugar Cookies to Use for Dipping
Sugar cookies used for decorating are different than the classic round sugar cookies that are soft and chewy. Because one of the goals of decorated sugar cookies is to keep the shape of the cookie cutter you used, they have to have a different texture. T
hey’ll be a little bit firmer, but still have that classic sugar cookie flavor. If you want to change up the flavor, a little bit of cardamom or bloomed saffron would go really well with the rose water or orange blossom flavor in this royal icing recipe!
You can use your favorite sugar cookie (for icing!) recipe or you can grab my sugar cookie recipe here.
Prep Time:
30 minutes
Total Time:
30 minutes
These simple marble iced star cookies are great for Ramadan parties and iftars!
Ingredients
Royal Icing
- 3 egg whites
- 1 lb (450 g, 4 cups) powdered sugar
- ¾ tsp rose water or orange blossom water
- Two different colors of food coloring
Instructions
Royal Icing Instructions
- Whisk the egg whites until foamy in the bowl of a stand mixer with a whisk attachment or in a large bowl with a hand mixer.
- Reduce the mixer to low speed and slowly add in the powdered sugar. Scrape down the bowl and mix at low speed until all of the sugar is incorporated. Add the rosewater or orange blossom water.
- Beat the sugar and egg white mixture at high speed until it forms stiff peaks. The mixture will be shiny and when you flip over the whisk attachment, the peak at the tip will not fall to one side. It will continue to stand straight up.
- Separate the frosting into smaller bowls and dye them various colors. This icing will be about outline consistency. If you want it to be thinner, add a small amount of water at a time until it reaches the desired consistency. If you want it to be thicker, add a small amount of powdered sugar at a time until it reaches the desired consistency. The royal icing will harden quickly, so make sure to cover anything not being used right away.
How to Frost the Cookies
- Color a small amount of the royal icing blue and a small amount purple. Leave the rest of the royal icing white. Thin all of it to flood consistency.
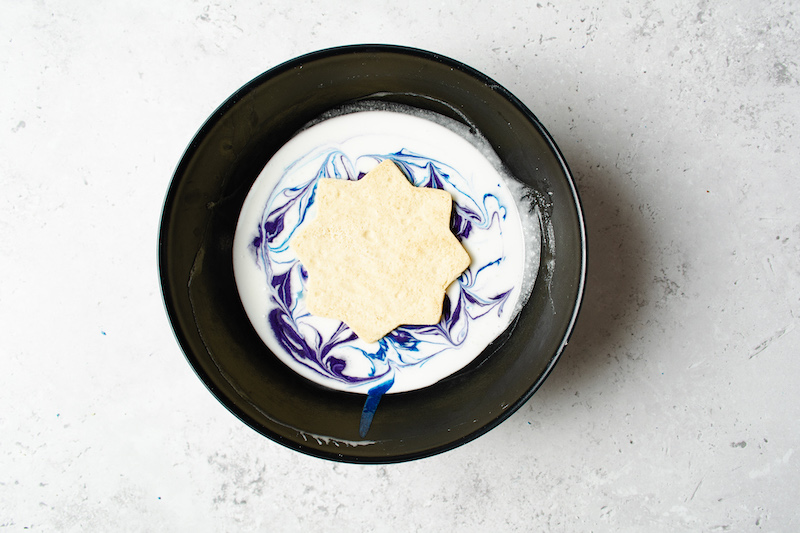
- Fill a wide, shallow bowl with flood consistency white royal icing. Dollop blue and purple flood consistency royal icing around the surface of the white icing. Using a toothpick, swirl the colors together slightly. Be careful not to completely mix the colors because the frosting will become gray instead of each color is distinct.
- Dip the whole top of the cookie in the royal icing mixture. Push down the tips of the star to ensure they are covered. Lift up the cookie by the edges and let the extra icing drip off the cookie by holding it over the bowl. You can change the pattern of the swirl by tilting the cookie slightly while it is dripping.
- If there is any frosting hanging over the side of the cookie, you can wipe it off before it sets. Set the cookies aside until the frosting has dried.
[ad_2]